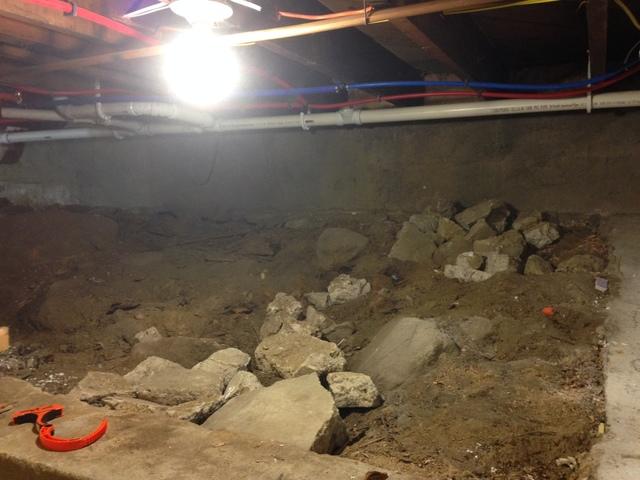
Before 1
Here you can see the dirt floor in the crawl space.
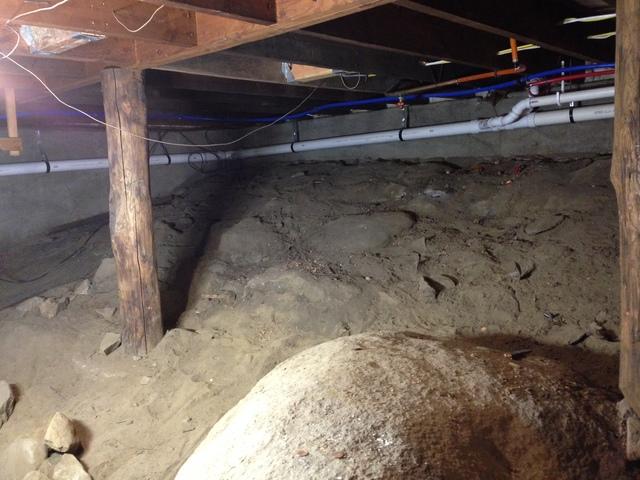
Before 2
This image shows the support beams in the home. We cut around and make sure they fit tightly against our CleanSpace product.
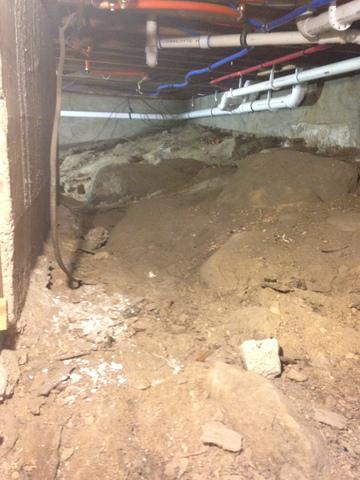
Before 3
Here you can see the dirt floor before we use our patented CleanSpace product.
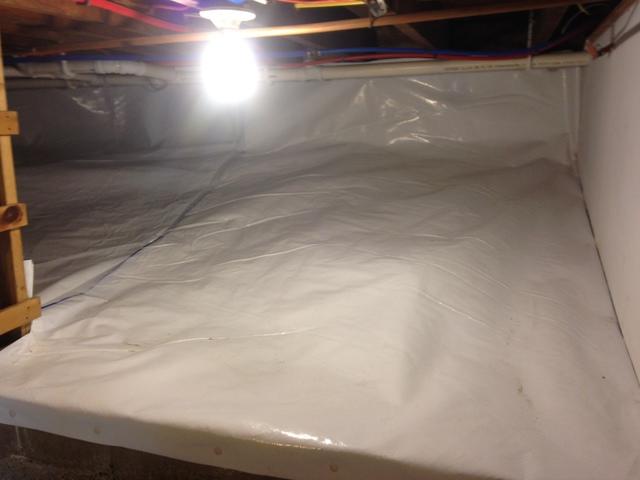
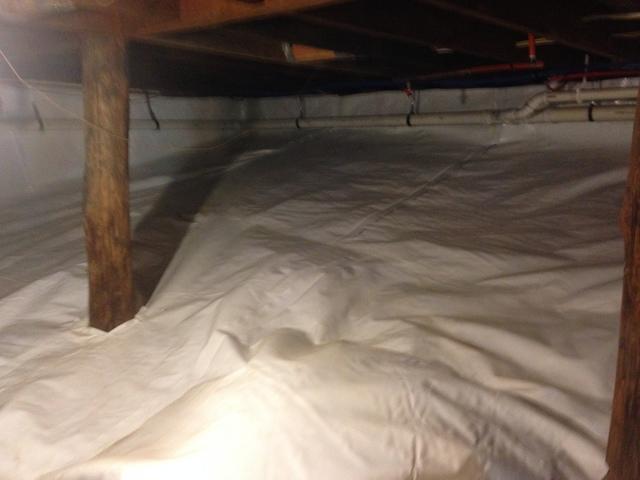
After 1
CleanSpace - Here you can see the CleanSpace product laid on the floor.
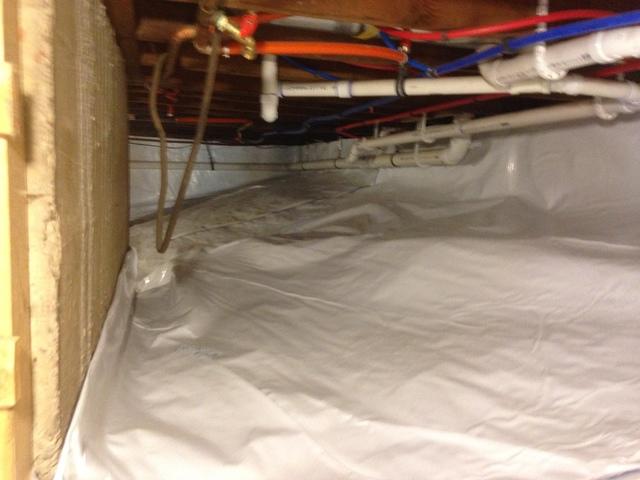
After 2
In this image you can see that we sealed around the beams air tight.
Part 3
In this image you can see the CleanSpace application.