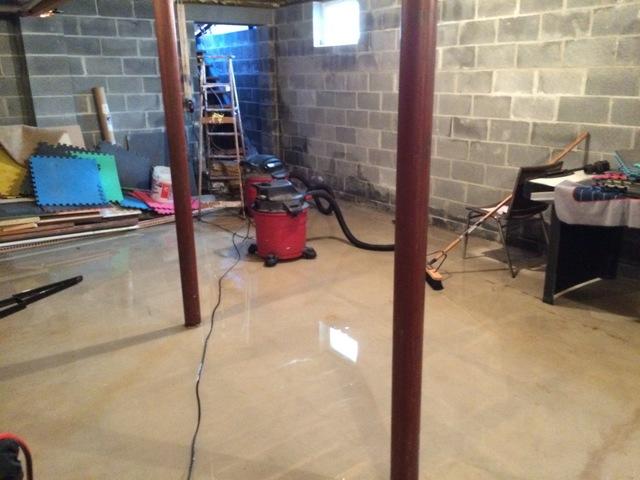
Before
Are you tired of dealing with water in your basement? For some people, this is all too familiar of a task.
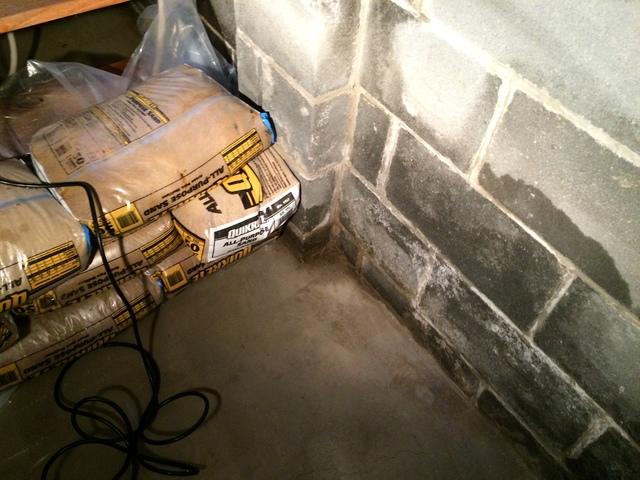
More Water
This is another picture of the water in this homeowners basement. When we get done here, this basement will be completly transformed.
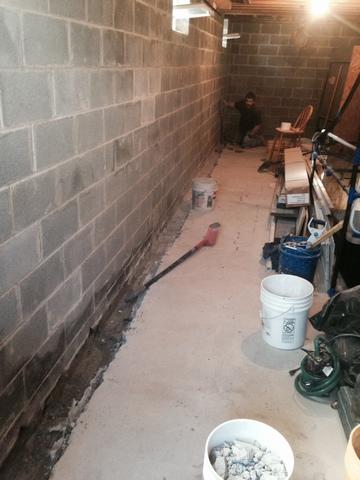
During
This picture is after we broke out the perimeter of the foundation.
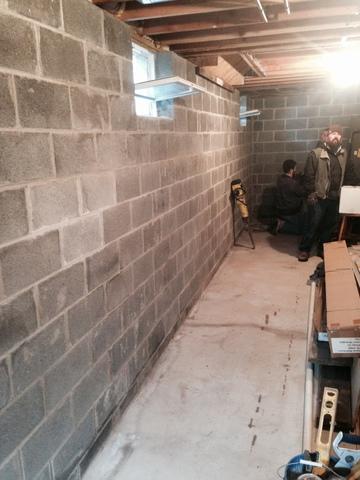
Before
This picture was taken before we started working. You can see the water staining on the foundation.
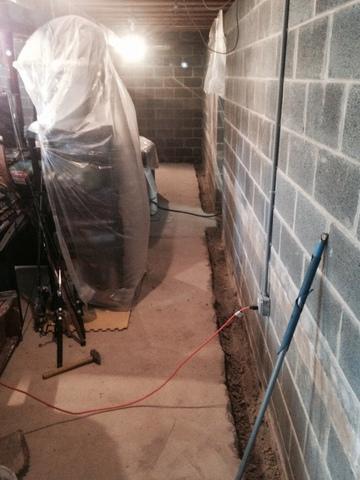
During
Here you can see another picture of where we broke out around the perimeter. Notice that even after breaking out and digging the ditch, the basement remained just as clean as when we started.
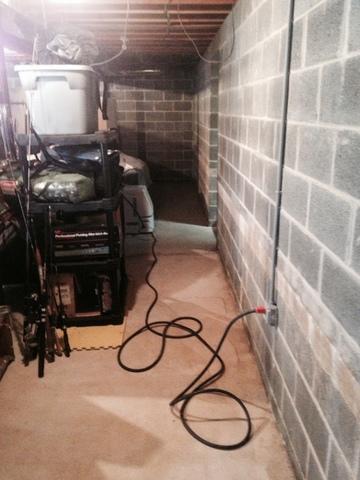
Before
Here you can get another view of what the basement looked like before we started.
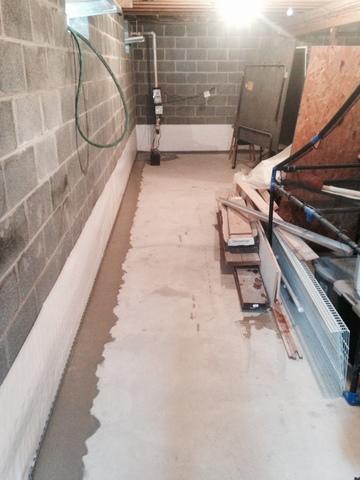
After
This picture shows the basement after we fished the job. The WaterGuard is in and the system is complete.
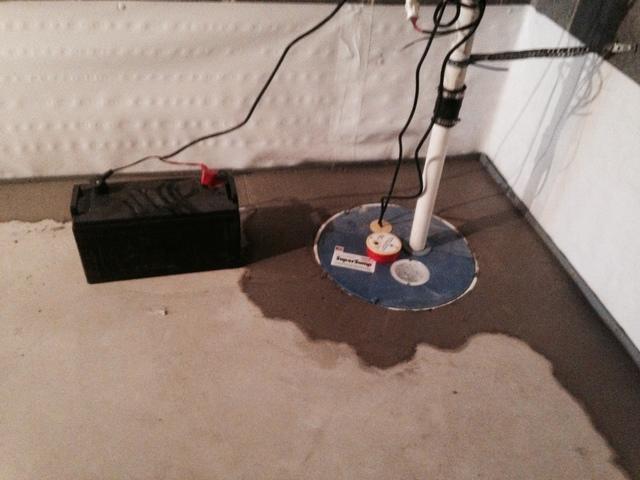
SuperSump
This picture shows the battery backup system and the SuperSump we installed. The white material we have on the walls is called CleanSpace. It is a thick plastic sheet that tucks in behind the WaterGuard. We used this application on this job because the weep holes poured out water and this will prevent the water from over flowing the flange on the WaterGuard.
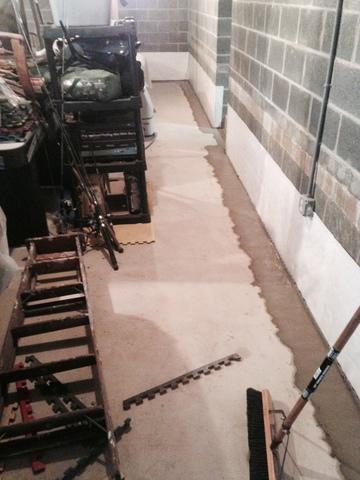
WaterGuard Complete
The Basement is clean and all finished. Notice that this basement was cleaner when we left it. This shows that we take pride in our work and want to leave your basement water free.
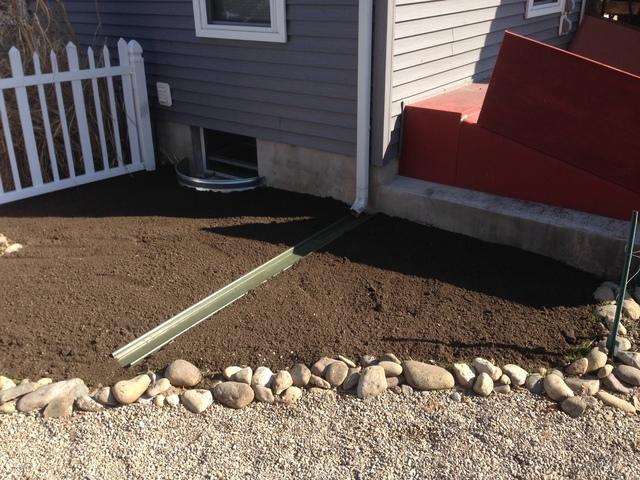
Window Well
Here you can see the new window and window well we placed in this homes basement.
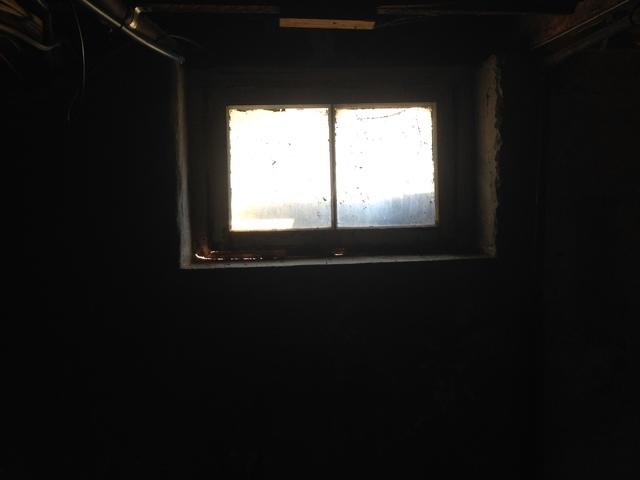
Before Inside
Before we replaced the window you could see daylight around the framing.
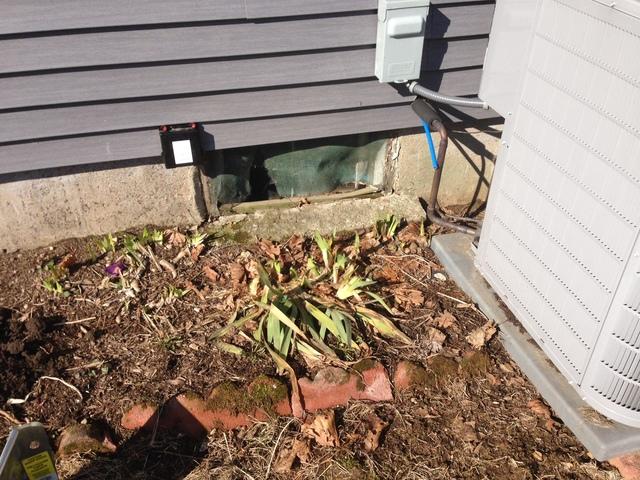
Before Outside
This is what the window looked like before we replaced it.
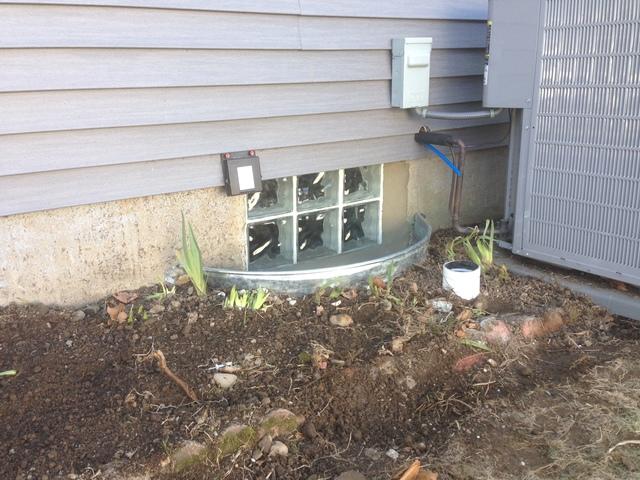
After
This picture Shows the window after we replaced it.
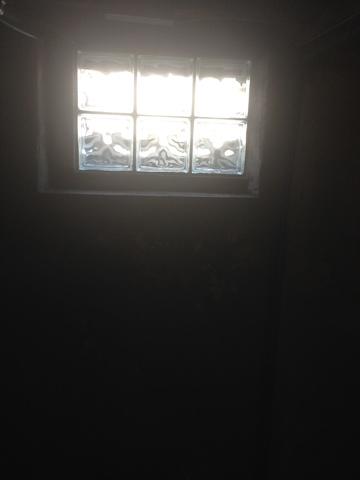
After Inside
As you can see, this window is letting more light come in and you cannot see daylight from around the framing.


