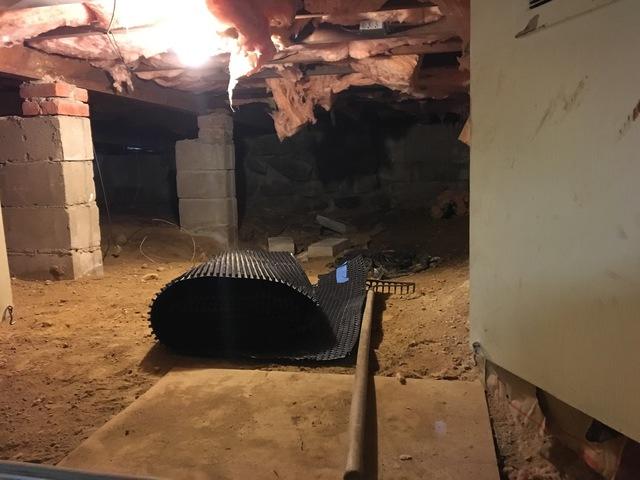
Before
Here you can see the dirt floor of the crawlspace. This allows water vapor to enter the room and rot out the suppourt
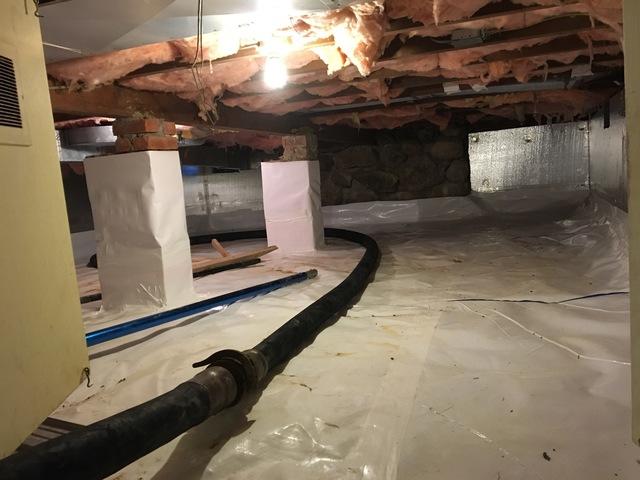
Cleanspace
Here you can see the CleanSpace has been laid and we are ready to pour the floor
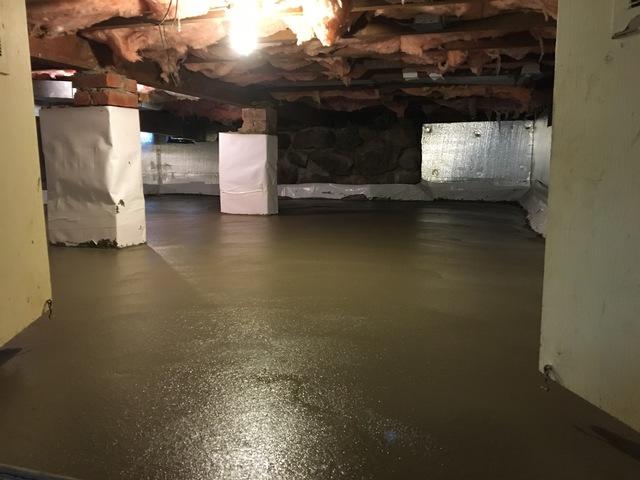
Poured floor
After the floor has been poured we still need to finish off the surface
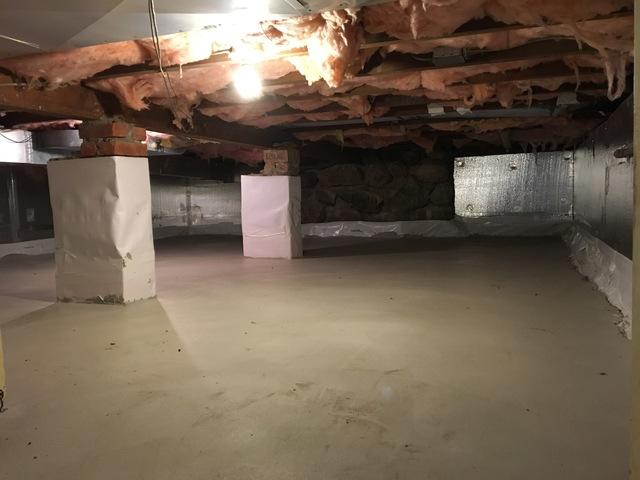
Final Product
This is the final product, the SilverGlo has been installed to insulate the crawlspace. CleanSpace to act as a vapor barrier, and Concrete to allow the homeowner to store objects easier.